As my readers may remember there were two items that needed my attention with the headset, but I went ahead and put it together before we moved to make sure nothing got lost in transit.

Pictured above the headlight bezel screw that broke when installing the headlight bezel. This headlight assembly fits a VSD (the Rally 180/200). Remember that the later year VSCs in the USA were required to have a round headset. The screw pictured here is part S15544 at ScooterWorks, where I bought the assembly.

To remove the bezel I heated it so the metal would expand with a heat gun. It took about one to two minutes.

When ever banging on the Vespa I look for the softest thing I can find, such as a wooden paint stirrer. The bezel was too snug, due to paint. So I gently tapped the rubber mallet against the wood paint stirrer and it worked great.

Above note: the broken bezel screw and a chip from the paint. This is okay, because the headset is aluminum and will not rust. Plus the bezel will hide it and no one will ever see it.

Another close up of the broken bezel screw.

I need to replace both that screw and the bezel hardware for 1970s headlight assemblies, part number #15221 at ScooterWorks.

The headset assembly was supposed to arrive with a light bulb. It did not. I need one. I used a Sharpie to label what wires plugged into what terminals.

The final items I need for the headset is the terminal for the speedo light bulb as well as the bulb itself.
I have more done on the Vespa and will post more soon. I also have been working more on my Bajaj Chetak. You'll never guess what I found during the oil change. Click
here to find out.
 As you know the stock kickstand hardware was not stainless steel, nor did it have a stamp on it. I want stainless steel, but I do not want the stamp; therefore I grind'd all four bolt heads for the kickstand hardware. Also note that there are two different washer sizes here. I was in a hurry before I moved West so I just got the bike together. Now that I am settled I can correct those minor errors.
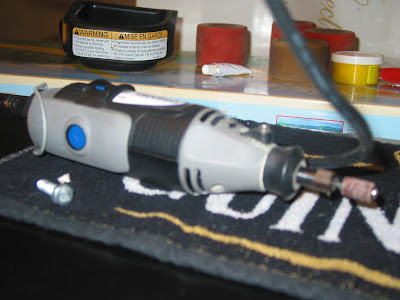
 I used my Dremel and just very lightly ground down the stamps and made it all look even. I was able to handhold the bolts.
 It is my hope that over the time the bolt head will weather a little bit and look a little more stock with less glossy shine on where I polished it with the Dremel.


